
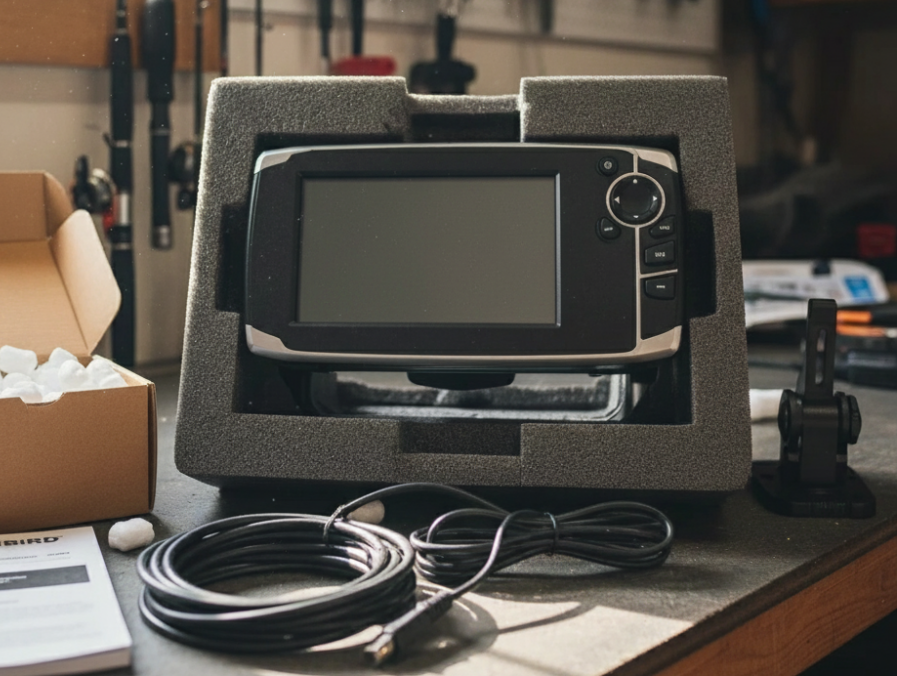
Setting up a fish finder rig can seem a bit overwhelming for first-timers, but trust me, it’s not as complicated as it looks. Basically, a fish finder consists of a display and a transducer. The former is your screen that shows you what’s going on under water, while the latter is the bit that sends out sonar waves and reads the echoes bouncing back. To get started, you need to mount the transducer properly on your boat. Most commonly on the transom or the bottom of the boat. This little gadget shoots sonar waves into the water and helps paint a picture of what’s lurking beneath the surface.
Start by selecting a spot that’s well submerged but free from all the boat action – too much turbulence can mess with your readings. Under the boat’s hull or along the transom is usually a good location. Next up, securing the display unit. Make sure it’s within easy reach and view when you’re in earnest fishing mode. Most folks tend to attach it somewhere on their control panel or dashboard.
Having a toolkit with essential gear like a power drill, screwdrivers, and a friend who’s good at these things might actually save you a ton of hassle. Be sure to route and run your wiring as orderly as possible to avoid damage to the wiring during your boating trips.
Now, let’s talk about rig types. There’s a variety of fish finder setups, and the one that’s best for you depends on where you’re fishing. In shallow waters? A single-beam might suffice. Headed into deeper waters? You might want to check out dual-beam or even a side-scan rig. Each option has its perks, so it’s worth understanding your usual fishing locales and choosing accordingly.
Mastering the Art of Reading Fish Finders for Beginners
Making sense of the fish finder screen for the first time feels a lot like trying to read hieroglyphs. However, once you grasp the basics, the whole process gets a lot more intuitive. Most fish finder displays show a live feed of what the sonar detects below your boat. You’ll notice a mix of colors and shapes, and understanding these is key.
Recognizing fish is the holy grail here. Often, fish appear as arches because of the way the sonar signal bounces off moving targets. The arch’s size can hint at the fish size, and where they show up vertically on your screen can tell you how deep they’re swimming.
Sonar technology might sound a bit high-tech, but at its core, it’s all about sound waves. Your fish finder sends out these waves and measures how long they take to return. Knowing these fundamentals helps you figure out what’s a fish and what’s just a piece of driftwood.
One common rookie mistake is assuming every blip on the screen is a fish. Sometimes, those blips could be rocks, plants, or even remnants of a shipwreck. Keep a keen eye on patterns rather than individual signals; this will help you separate the fish from the funky bits lurking below.
Your fish finder can do more than find fish. It can reveal underwater terrain and structures like drop-offs, reefs, and trees. All these are critical when you’re hunting for specific types of fish that love to hide in such spots. So, take the time to explore what your finder is showing you beyond just the fish. It’s this broader understanding that can make you a more proficient angler.
Powering Your Journey: Fish Finders and Battery Life
Running a fish finder requires a reliable power source, and most folks opt for a 12V battery. On average, such a battery can run a basic fish finder for about 8-12 hours, depending on usage and settings. Keep an eye on the display’s brightness and the sonar ping rate, as these heavily influence how long the battery lasts. If you’re hardwiring into a motorboat, then there isn’t much to worry about here unless you are going to have the motor off for any period of time.
Remember, factors like cold weather or advanced feature usage (think multiple frequency scanning) can drain the battery faster than usual. To stretch the battery life further, consider dimming the screen when the sunlight’s working in your favor or popping on a smaller ping rate when you’re just cruising to your next spot.
Out on the water, the last thing you want is to find your battery dead before the real action begins. Having a portable power source as a backup can be a solid plan. Some folks carry a booster pack, which might take up a bit of space but saves the day when the unexpected strikes.
Choosing between portable and stationary power sources depends on your adventure style. If you’re out on a kayak or small boat, something lightweight and easy to swap becomes your best friend. For bigger setups, you might go for a more substantial, stationary solution that can handle not just the fish finder, but maybe even a small fridge for those beers.
Is a Fish Finder Rig the Right Choice for Beginners?
For those just dipping their toes into the angling world, the fish finder rig could seem like a big step. It’s got its pros and cons, much like any piece of fishing gear. A significant advantage is how these rigs boost your catch odds by pinpointing fish hotspots and underwater terrain. It’s like adding a high-tech assistant to your fishing trips.
Many beginners find the visual feedback and data invaluable once they’re used to reading their finder’s display. However, there’s a flip side. The upfront cost can be a factor, especially for fully-featured models. Yet, consider it a long-term investment. With proper care, a fish finder can amp up your fishing game for years to come. and gives you a safety advantage by giving you the stats about the depth and terrain beneath your boat.
Now, if you’re still on the fence, remember that there are alternative setups for starters, like a simple rod and line with a quality bait focused on trying different fishing techniques. Starting with something basic and moving up gradually isn’t a bad plan either. Trust your gut feelings and fishing style when deciding whether a fish finder rig fits into your angling journey.